 The sprinkler valves in front of our house have been leaking water since we moved in. Later in this spring, they were totally broken, not passing water at all. After manually watering the lawn for 4 months, I finally decide to replace them.
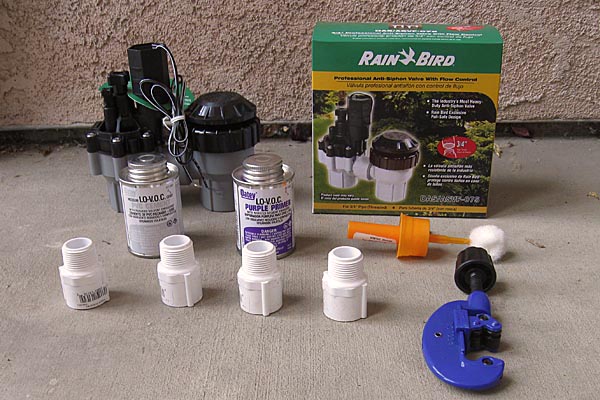 If you don’t want to replace the pipe and reroute the whole thing, it is important to find the valve as wide as your in/out pipes. Of course, the diameter has to match too. Other than that, all you need are cutters, adapters, teflon tape, and primer and glue to clean and adhere the valve and the pipe.
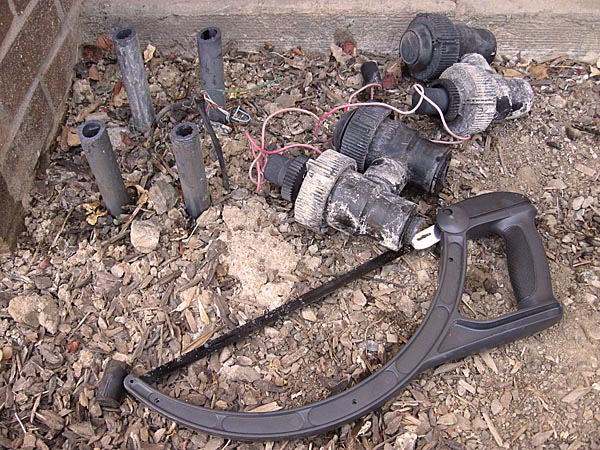 Although I bought a cutter, I found it is easier to cut the pipe with a saw, as long as you have space to maneuver.
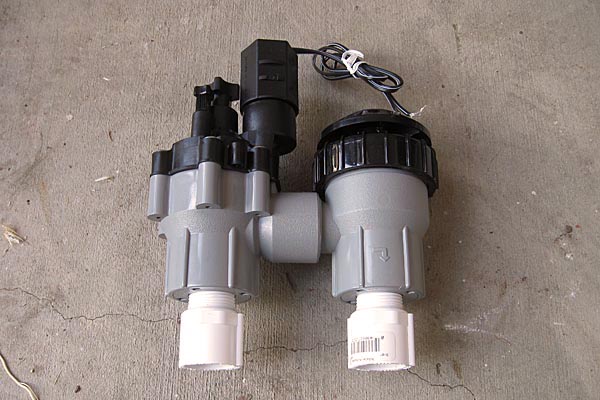 Put teflon tape around the threads of the male adapter. Tight the adapter up with the valve. Teflon tape helps seal the connectors and prevents leaking.
 Apply the primer on the outside of the pipe and inside of the adapter. Let it dry for about 1 minute.
 Then, apply the glue on the outside of the pipe and inside of the adapter evenly. Before they dry, quickly push the valve onto the pipe and hand-hold them together for 30 seconds to prevent the valve from popping out. Wait at least a hour to make sure the glue is completely dry.
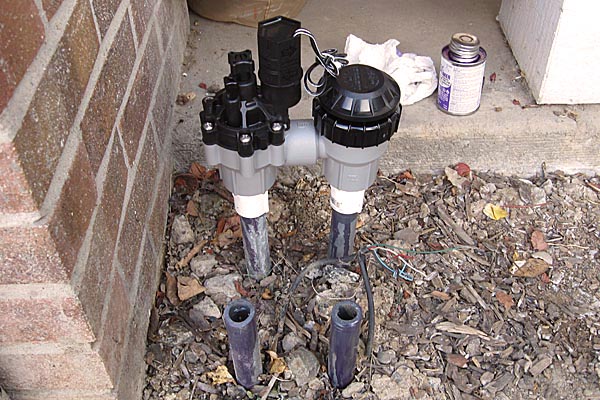
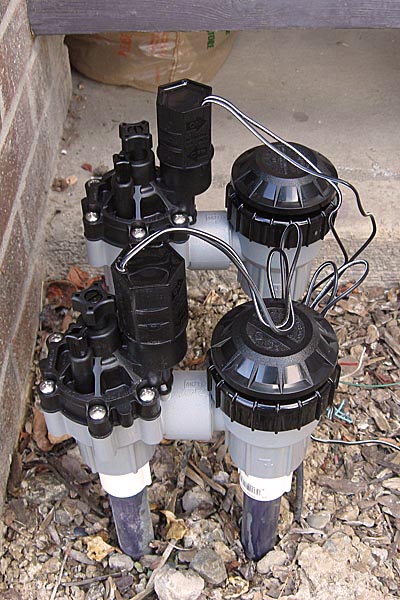
 Connect the wire: one end of both valve to the ground, the other end to the different zone control respectively. Put them into grease wire protectors to prevent them from getting wet. Test the remote control. Done!
What was the brand that you took off?
Thanks